|
|
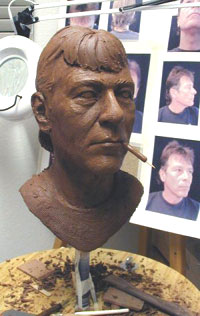
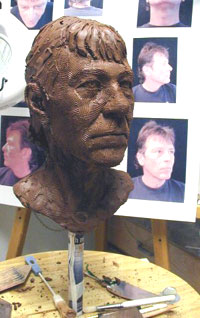
Start with a 12 inch tall galvanized pipe wrapped
loosely with newspaper. A paper lunch sack is filled tightly
with shredded paper and placed over the top - twisting and
taping the bottom portion around the pipe. Clay is added
in sheets and smacked with a flat piece of wood to get rid
of any air bubbles. The piece will NOT be cut in half and hollowed
out later.
|
|
|
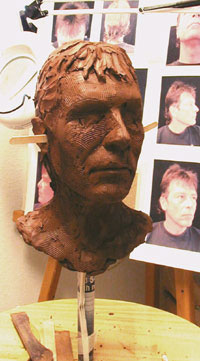
Next, add the remaining features.
You can keep the head workable for several weeks by misting
it from time to time with a spray bottle of water. Keep the
head wrapped with a damp towel then tightly sealed with a plastic
bag while you're not working on it. Check proportions and rework
until the rough in is complete, then refine to your satisfaction.
When the piece is leather hard, you can continue to carve more
precise details into the piece, but you should not add any
additional fresh clay.
The head is then steam dried in an oven bag with
a few holes poked in it. This can either be done by placing
it in an oven at 170 degrees for several days, or place it
(in the bag) outside in the direct sun for a week or two, depending
on the temperature. |
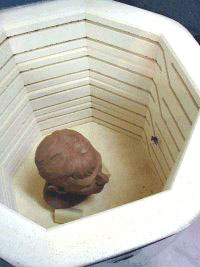
When completely dry, the piece is slowly fired in an electric
kiln to about 2000 degrees and allowed to cool completely before
removal. This process takes about 3 days. If the piece were
to be glazed, I would spray the glaze with an air gun and fire
the bust a second time. I'll be applying a metallic bronze
finish on this one. |

Just out of the kiln without a single crack. My helper is
in the background. |
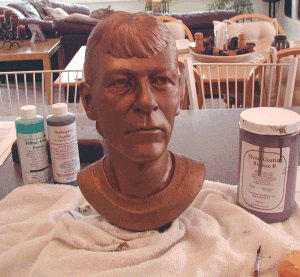
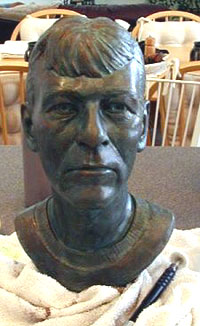
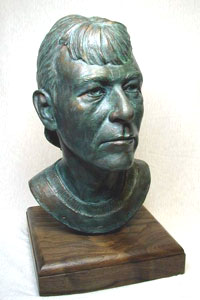
For this patina, I have added two coats of Ron Young patina,
bronze liquid metal. This is bronze, but I could also have
used pewter, brass, copper, mauve, iron, or silver.
|
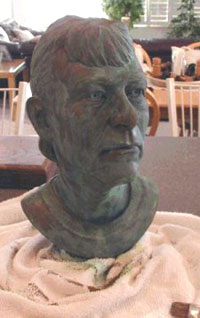
Next, several coats of mahogany and light green
acid patinas are applied to the wet metal coating.
Optionally, the piece is buffed to a sheen with
a dremmel tool to give the appearance of real bronze.
|
|
A layer of clear wax (you can use colored wax instead) is
applied to seal the patina and then buffed with a soft cloth.
It is then mounted on its base and there you have it...
|
|

