|
|
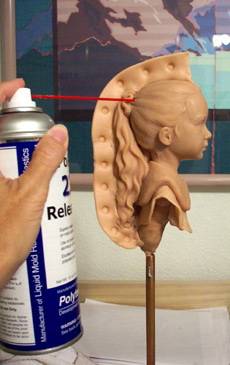
To make the mold, I start out with a strip of
clay rolled out long and flat. With this small mold, I'll make
the rubber mold as one piece with a seam up the back and will
make the rigid mold in two pieces. That way, there is no seam
running down the center of the face to deal with. Place the
strip of clay along your dividing line. Plug any holes that
will need to separate so the mold can be removed - such as
between the neck and pony tail. With the eraser of a pencil,
I pushed keys into the clay that will later serve to lock the
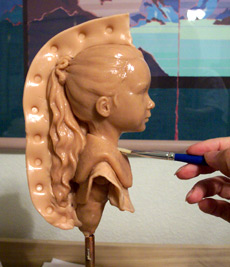
two halves together and keep them from slipping. Spray the
entire thing with mold release and brush it in all cracks and
crevices with a small paintbrush.
|
|
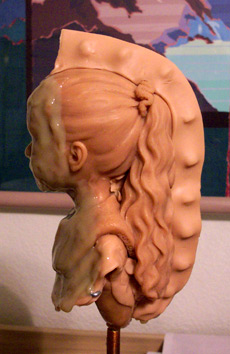 |
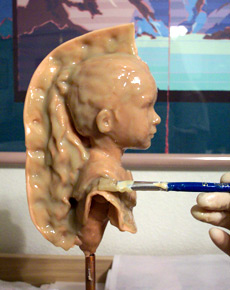
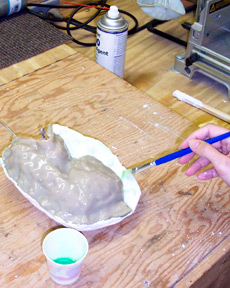
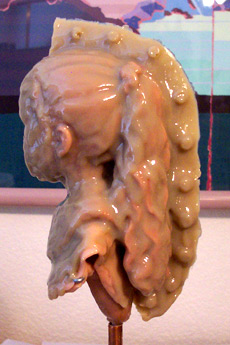
I am using Polytek's polygel 40
which is a simple to use, 2 part urethane rubber. Mix a small
batch of equal amounts and brush over 2/3 of the sculpture.
Use the brush to push the rubber into all tiny areas such as
up the nose, corners of eyes and mouth, etc., so no air bubbles
get trapped there. The rubber sets up in about 5 minutes and
a second coat can be applied when tacky in about an hour. Build
the ridge thicker than the rest.
|
|
|
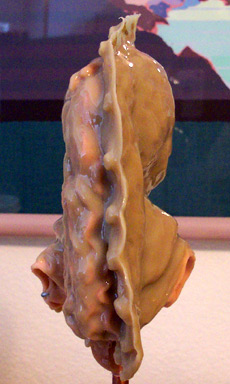
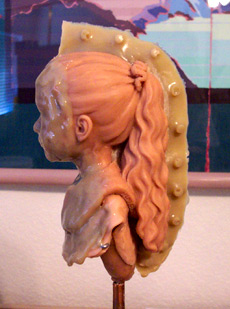
The next day, remove the clay divider from the seam and plugged
holes. Spray the back side of ONLY the seam with a silicone
based mold release, and also the backs of the plug holes so
the rubber doesn't stick to itself. Take care not to get any
release on the rubber that is painted on the face or new layers
won't stick. You can cover the rubber on the face temporarily
while you spray the seam. Paint two layers of rubber on the
exposed side.
|
|
|
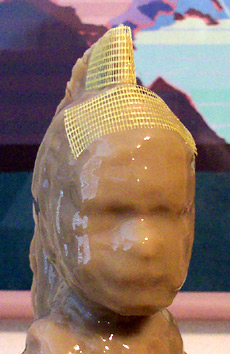
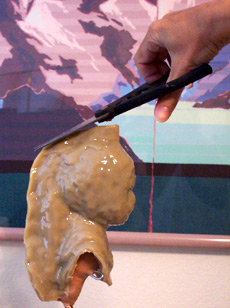
When tacky, paint another coat of rubber over the whole thing
and fill up any undercuts that the rigid mold might catch on.
I cut a piece of fiberglass tape and placed it at the edge
of the seam for reinforcement. Paint one last layer of rubber
over the entire piece, including over the tape.
|
|
|
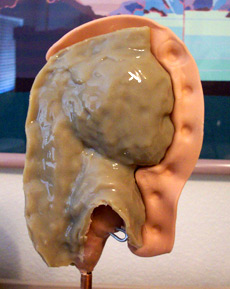
The next day when the rubber has cured completely,
cut about 1/8 inch of rubber from the outer edge of the seam
to make a nice clean separator line. Place a strip of clay
down the front half of the mold, and press keys. Spray
one half of rubber mold with mold release in preparation for
making the rigid mold.
|
|
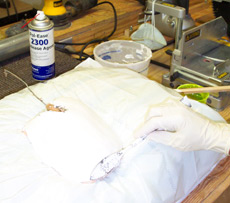
Quickly mix plaster of paris with water to
the consistency of cake frosting. Too thin, it will run off
- too thick it will set up too quickly and start to crumble.
Apply a thick layer with a spatula on the half of the sculpture
you sprayed with release. You have about 10 minutes of working
time before the plaster is too stiff to work. Wait an hour
and apply a second layer, building the plaster thick at the
edges. Plaster is messy and best done in the shop or garage.
Here I laid the piece on a pillow covered with plastic.
Sorry about the white on white photo.
|
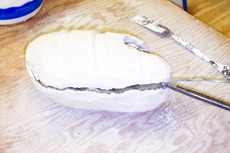
When the plaster is dry, the next day, remove the clay strip
and spray mold release on the other side. Apply Dawn or Polmolive
dishwashing liquid on the exposed plaster to act as a barrier
between the two sides. Let dry for 10 minutes and mix another
batch of thick plaster to make the back side of the mold. Apply
two layers.
|
|
|
|
When the plaster dries, the piece can be un-molded. Find an
edge, stick in a screwdriver and slowly twist. Should pop right
open. |
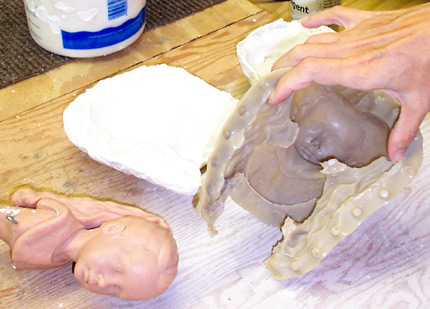
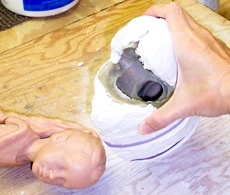
Pull the rubber mold open at the seam. The original piece
should pop right out, undamaged. Wash the rubber with soap
and water.
|
|
Here is the final mold. It should always be kept assembled
and strapped with rubber bands to prevent distortion. The mold
is now ready for the wax investment stage. |
Hard casting wax is melted and poured into
the mold and rolled around. This process is repeated several
times until the layers of wax are built up to an even thickness
of about 1/8 inch. The hollow wax bust is taken out
of the mold the next day when totally cooled and any seam
lines,
bubbles, and flaws are re-sculpted with wood carving and
other wax working tools.
|
|
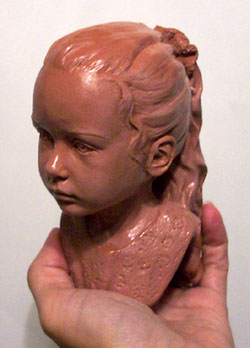 |
As a side note, once you have a mold, you can cast just about
any material in it including wax (for bronze), resins, slips,
porcelain, and more.
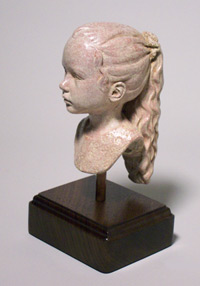
Here is a quick cold-casting in bonded copper as a less expensive
alternative to lost wax castings. The copper will react with
an acid patina because there is real metal powder in the
mix. Left - just out of the mold. Below - with a white patina
applied.
|
|

